Original Article in Medium: https://sondt1337.medium.com/kali-linux-vps-for-free-it-appears-so-segfault-tutorial-6c9dd0642ff0
Segfault, created by The Hacker’s Choice, is a complimentary application for Cyber Security Researcher. It provides an unlimited server with Root access. With each new server that is generated, SSH connection is established for communal use.

LOGIN Server
To connect to Segfault via SSH, use the following command:
|
|
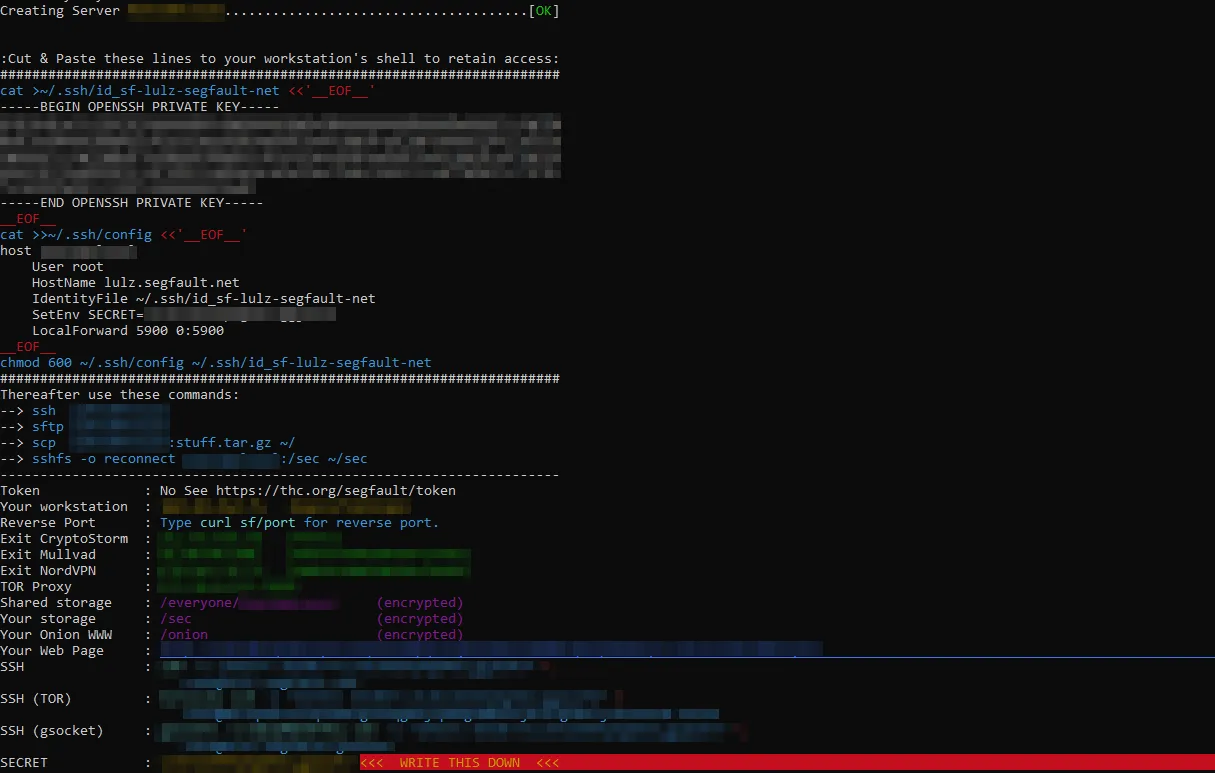
When initially connecting to Segfault to open a root and SSH server, a 60-second wait is required. However, this duration is not typical for subsequent connections (probably less).

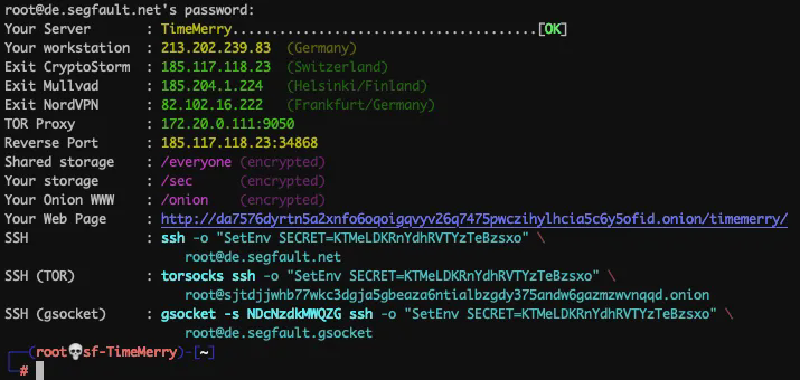
Once successfully connected to the server, it will provide details such as SSH and IP address. (It’s important to save this information for future reference.)
Later, to log in again, simply execute the SSH command provided below.

|
|
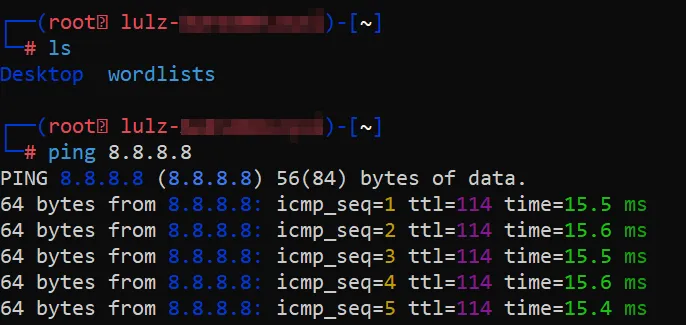
Once logged in, this Kali server can be utilized as a virtual machine equipped with a comprehensive suite of tools for security and networking, … (Segfault’s homepage for more details).
To log out of the server, simply use the exit command.

TUNNEL Server - Argo Tunnel (Cloudflare Tunnel)
Although the server we have is nearly identical to a real Kali Linux virtual machine, it can initiate connections from the inside, but external connections cannot reach it using common protocols like HTTP, TCP, etc. For this, I will need to utilize a powerful Cloudflare feature called Tunnel.
Initially, you must establish a tunnel from Cloudflare to the Kali Linux server using Zero Trust.
Create a tunnel
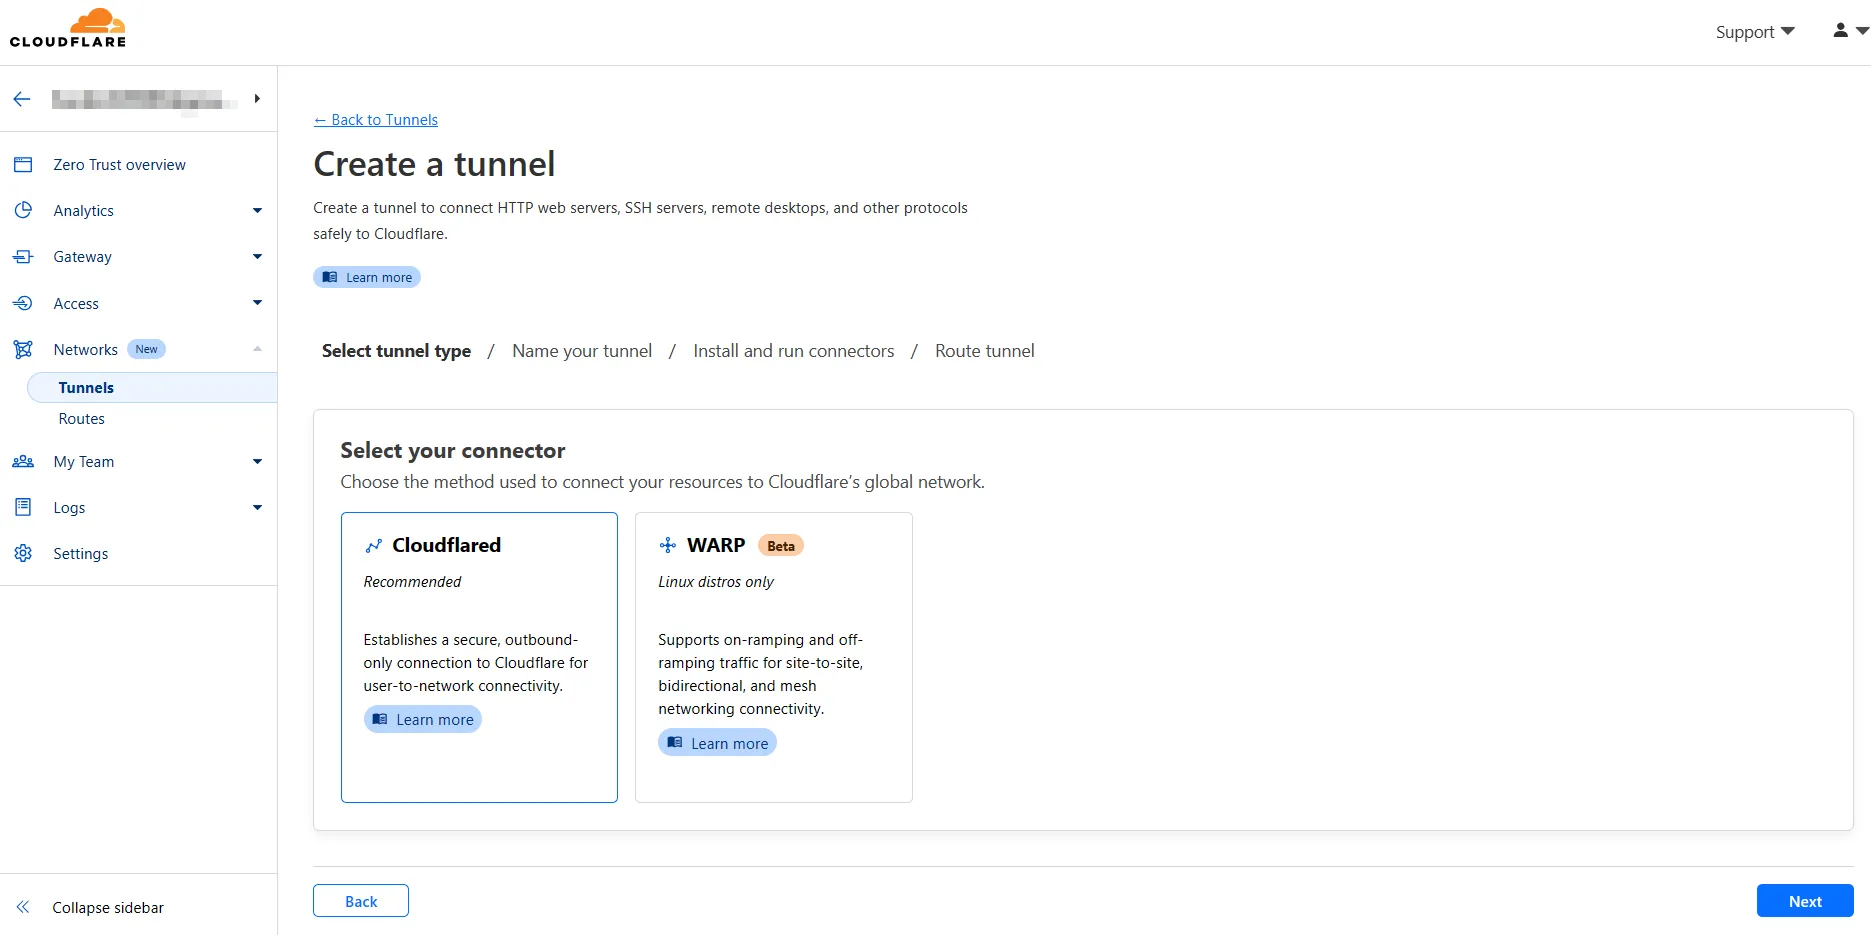
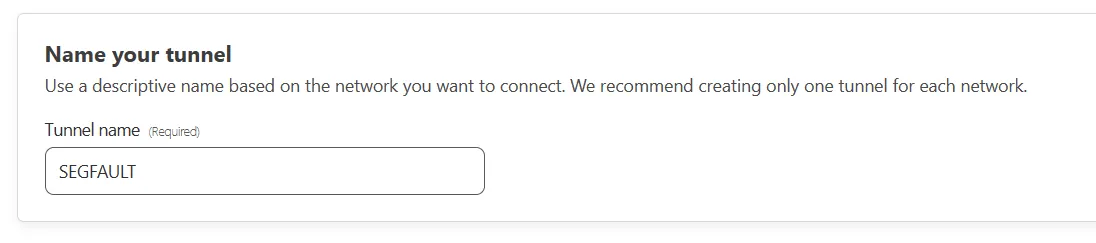
Name your tunnel
Install and run connectors
In the “Choose your environment” options, select Debian — 64-bit.


|
|
Upon a successful connection, Connectors will display both ID and Status.

Route Traffic
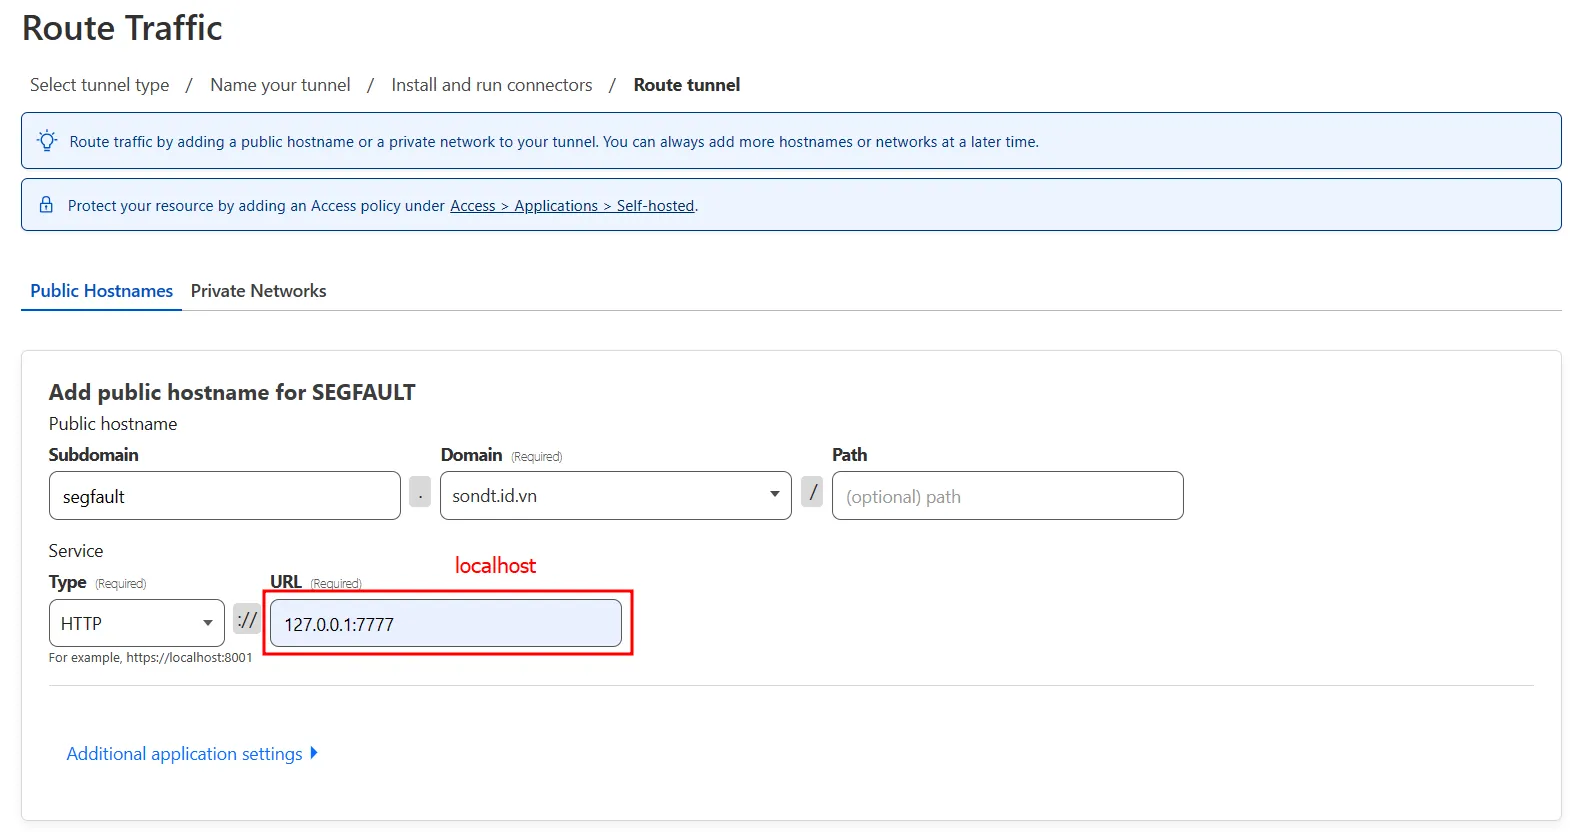
In “Route Traffic,” you must fill in the Domain (at least one domain is required) and the method + URL (localhost).
Use http.server in background to tunnel from machine to cloudflare.

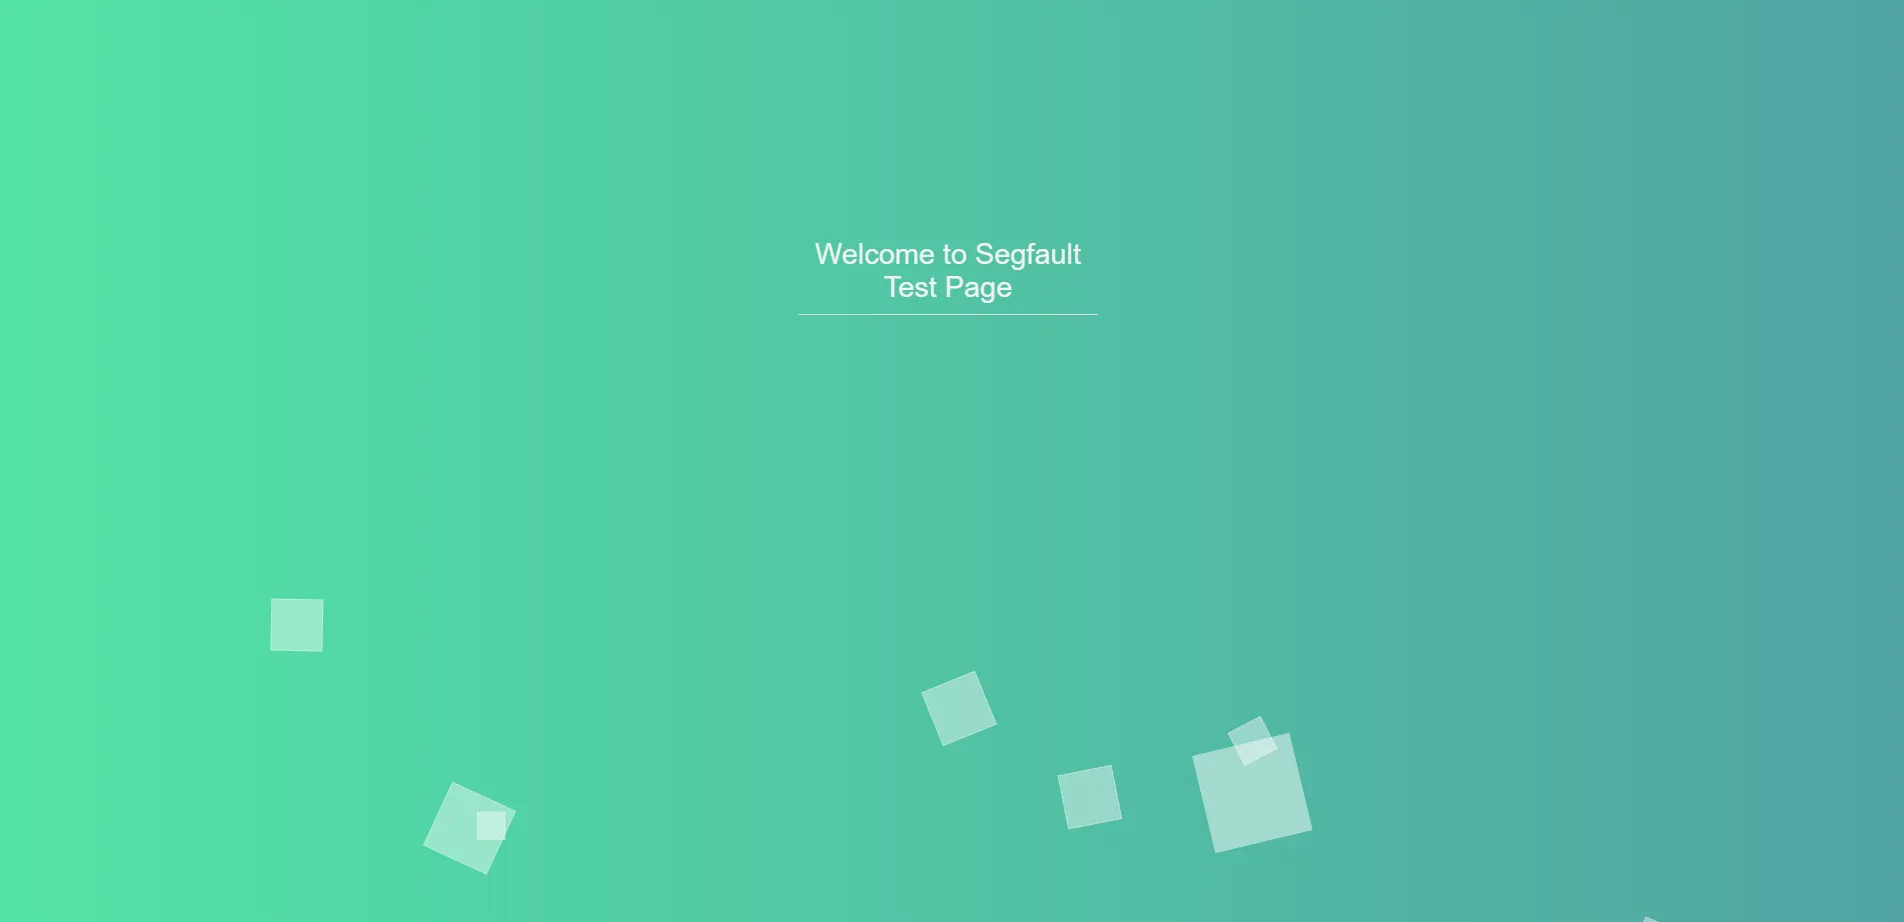
When the http.server is running in the background, a Cloudflare tunnel can be configured to a domain, allowing access via: https://segfault.sondt.id.vn

(If you’re still able to access this page, it indicates that the article remains accurate. LOL)
You can create an HTML file in the background to display a welcome page :>
UPTIME Server
However, if the requirement is to establish a connection that remains active indefinitely, allowing applications to run continuously, what should be done?

According to the segfault announcement, the server will remain up as long as you are logged into the Segfault. This means your progress will be preserved as long as you maintain an SSH connection to segfault.net.
So we need to make something that can automatically connect “ssh” to the segfault server.
Github Actions
GitHub Actions is a complimentary service offered by GitHub that facilitates the automation of the CI/CD process. It enables users to create workflows that automate tasks within the software development lifecycle.
When you create a repository in Github, you can choose Actions to start Github Actions, choose the simple workflow.


I have created a YAML script to automate the process of repeatedly establishing an SSH connection with a set interval.
|
|
This rules will make automatically connect to SSH every 20 minutes, making the SSH connection process uninterrupted for too long.
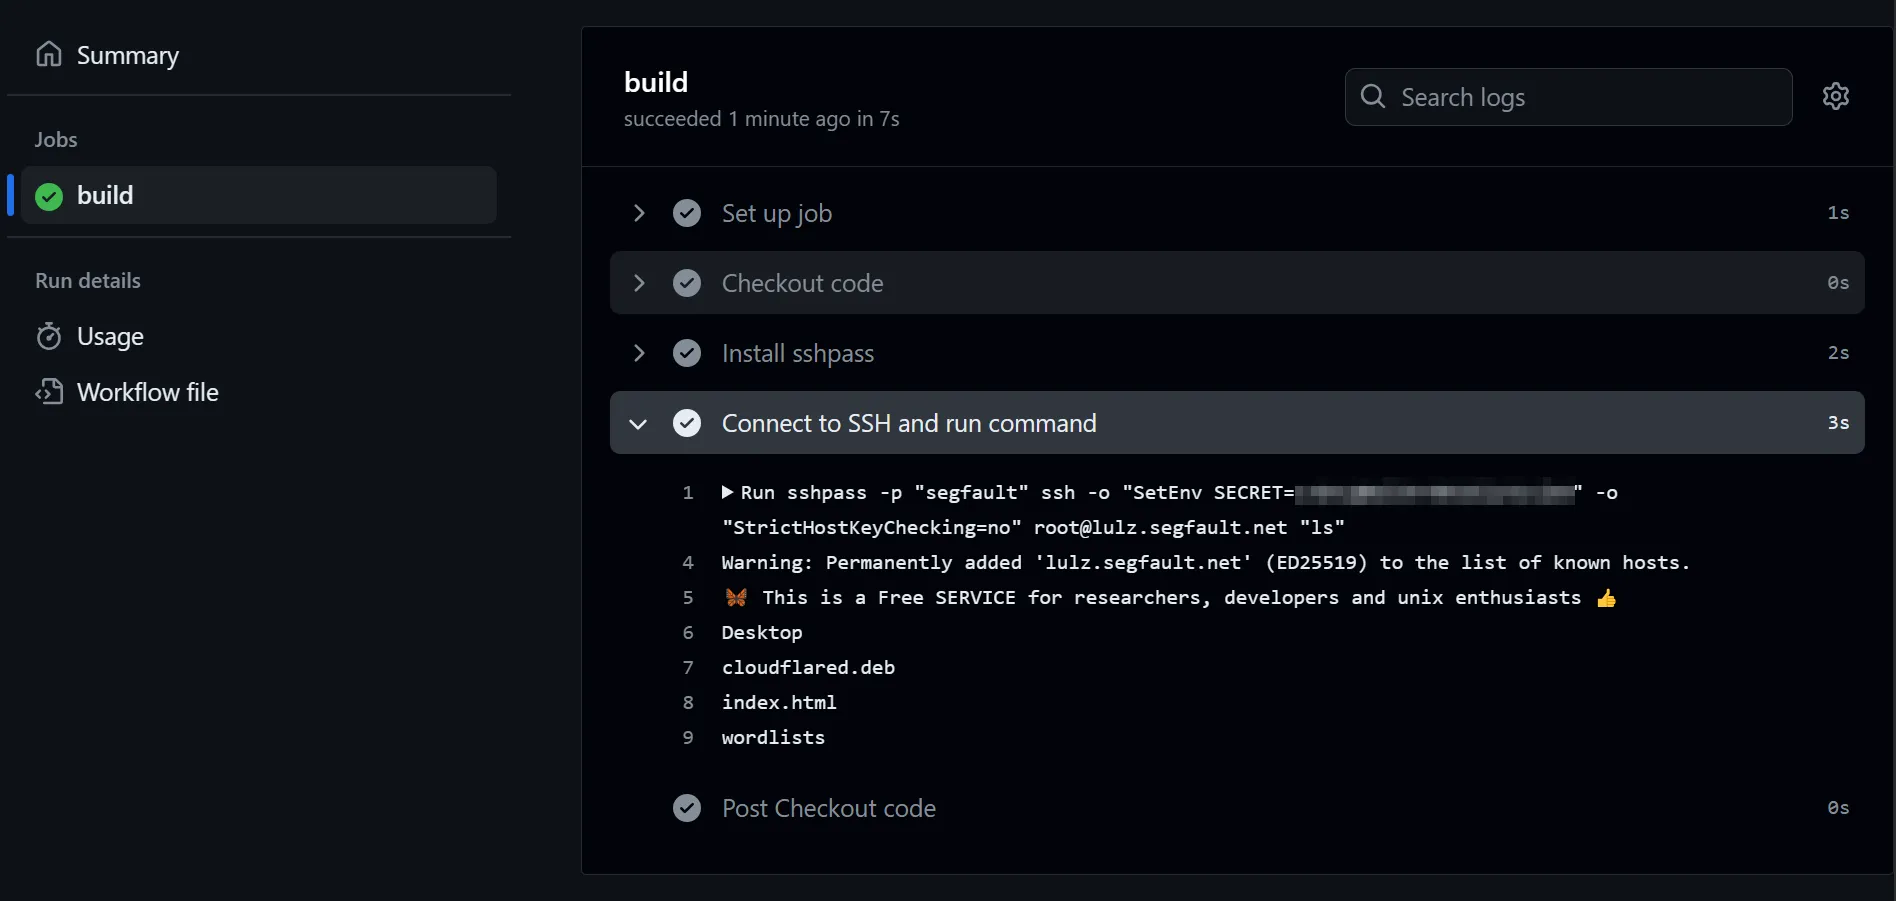
We have successfully established a continuous SSH connection to the server, ensuring it remains active for our needs.
CONCLUSION
This article demonstrates how to establish a connection to a Segfault, create a tunnel from the Segfault server to an external destination with domain, and maintain it with 100% uptime.
If you find this guide helpful, please consider sharing it with your friends.
Thank you for visting!
Buy me a coffee ☕: https://www.buymeacoffee.com/spid3r